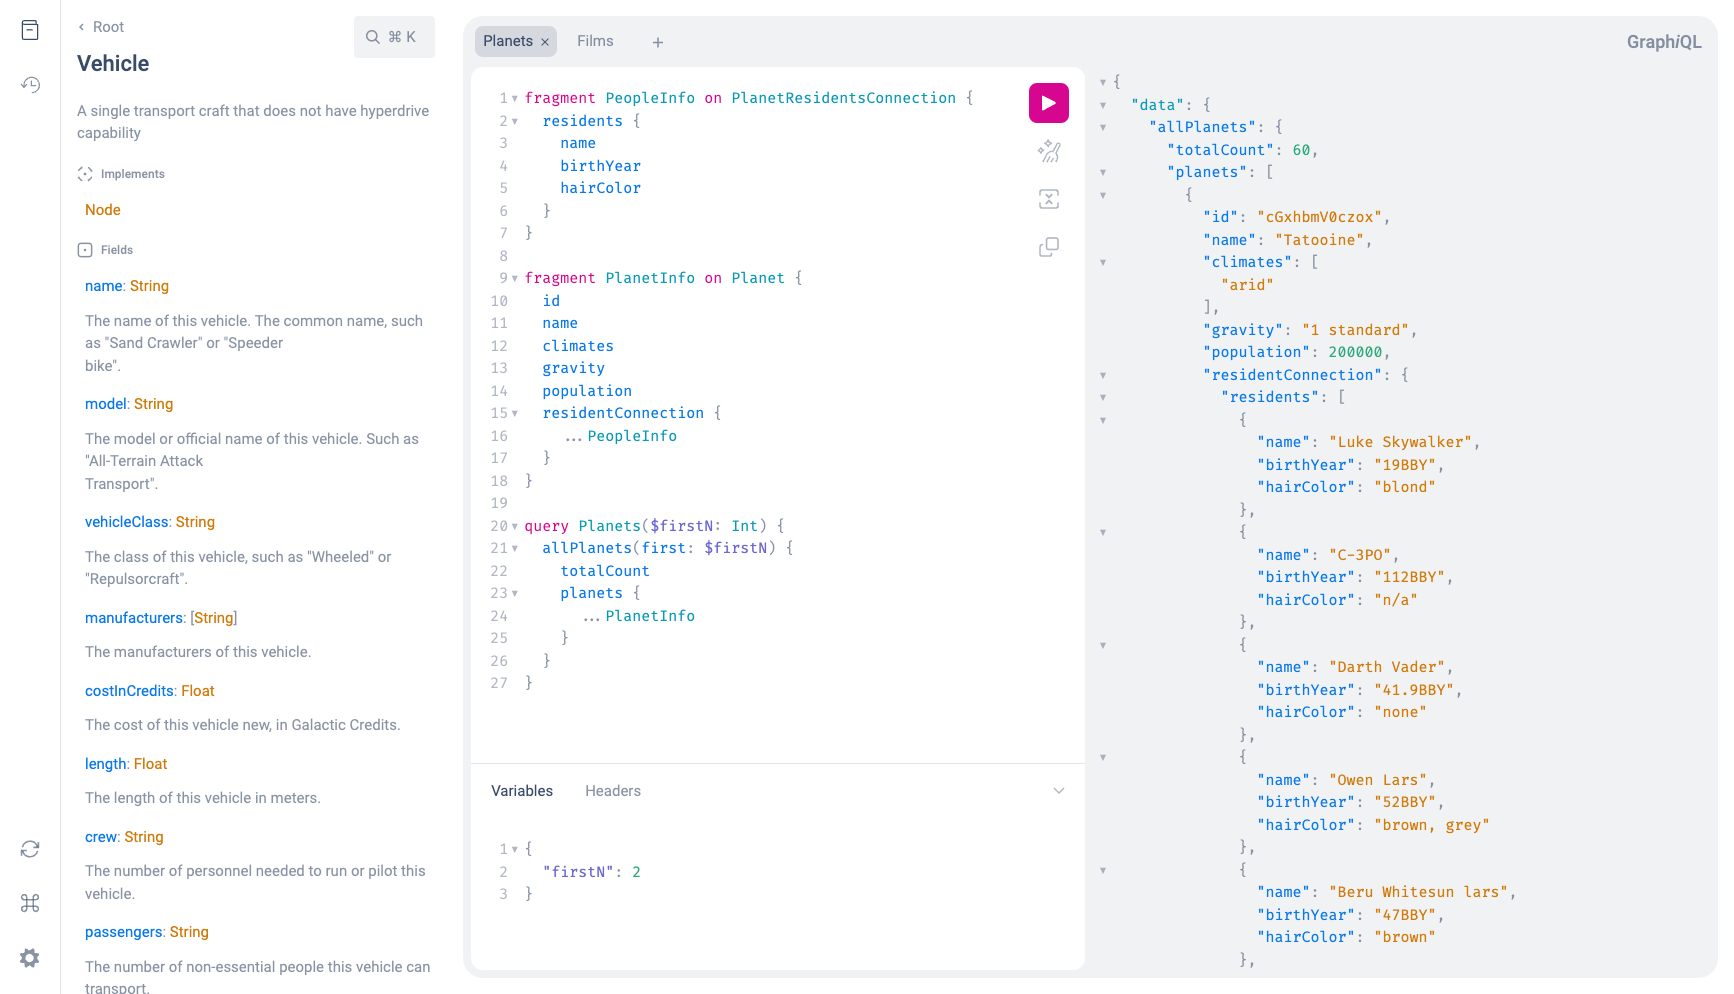
mll-lab / laravel-graphiql
Easily integrate GraphiQL into your Laravel project
Installs: 1 709 453
Dependents: 8
Suggesters: 3
Security: 0
Stars: 59
Watchers: 2
Forks: 11
Open Issues: 1
Requires
- php: ^8
- illuminate/console: ^9 || ^10 || ^11
- illuminate/contracts: ^9 || ^10 || ^11
- illuminate/support: ^9 || ^10 || ^11
Requires (Dev)
- ergebnis/composer-normalize: ^2.29
- larastan/larastan: ^2.5.2
- mll-lab/php-cs-fixer-config: ^5
- orchestra/testbench: ^7.7 || ^8.8 || ^9
- phpstan/extension-installer: ^1
- phpstan/phpstan: ^1.10.15
- phpstan/phpstan-mockery: ^1.1.1
- phpstan/phpstan-phpunit: ^1.3.11
README
A thin wrapper for serving the GraphiQL UI from Laravel
Please note: This a UI for testing and exploring your schema and does not include a GraphQL server implementation. To serve a GraphQL API from Laravel, we recommend nuwave/lighthouse.
Installation
Install the package via composer:
composer require mll-lab/laravel-graphiql
Due to Laravel package discovery, this package will automatically register and is ready to use without configuration.
If you are using Lumen, register the service provider in bootstrap/app.php
$app->register(MLL\GraphiQL\GraphiQLServiceProvider::class);
Upgrade Guide
When upgrading between major versions, consider UPGRADE.md.
Configuration
By default, the GraphiQL UI is reachable at /graphiql
and assumes a running GraphQL endpoint at /graphql.
To change the defaults, publish the configuration with the following command:
php artisan vendor:publish --tag=graphiql-config
You will find the configuration file at config/graphiql.php.
Lumen
If you are using Lumen, copy it into that location manually and load the configuration
in your boostrap/app.php:
$app->configure('graphiql');
HTTPS behind proxy
If your application sits behind a proxy which resolves https, the generated URL for the endpoint
might not use https://, thus causing the GraphiQL UI to not work by default. In order to solve
this, configure your TrustProxies middleware to contain \Symfony\Component\HttpFoundation\Request::HEADER_X_FORWARDED_FOR
in $headers.
Customization
To customize the GraphiQL UI even further, publish the view:
php artisan vendor:publish --tag=graphiql-view
You can use that for all kinds of customization.
Change settings of the GraphiQL UI instance
Add extra props in the call to React.createElement(GraphiQL, ...) in the published view.
React.createElement(GraphiQL, {
  ...,
  // See https://github.com/graphql/graphiql/tree/main/packages/graphiql#props for available settings
});
Configure session authentication
Session based authentication can be used with Laravel Sanctum.
If you use GraphQL through sessions and CSRF, add the following to the <head> in the published view:
<meta name="csrf-token" content="{{ csrf_token() }}">
Modify the GraphiQL props as follows:
React.createElement(GraphiQL, {
    ...,
+   defaultHeaders: JSON.stringify({
+       'X-CSRF-TOKEN': document.querySelector('meta[name="csrf-token"]').content,
+   }),
})
Make sure your route includes the web middleware group in config/graphiql.php:
    'routes' => [
        '/graphiql' => [
            'name' => 'graphiql',
+           'middleware' => ['web']
        ],
    ],
Local assets
To serve the assets from your own server, download them with:
php artisan graphiql:download-assets
This puts the necessary CSS, JS and Favicon into your public directory. If you have
the assets downloaded, they will be used instead of the online version from the CDN.
Security
If you do not want to enable the GraphiQL UI in production, you can disable it in the config file.
The easiest way is to set the environment variable GRAPHIQL_ENABLED=false.
If you want to protect the route to the GraphiQL UI, you can add custom middleware in the config file.

